
You’ve agreed to build an LMS. Your next batch needs somewhere to learn, your staff need time to prepare, and you need to know what happens between the first meeting and launch.
A useful custom LMS development timeline should tell you what you’ll review, what your team needs to provide, and how progress gets checked.
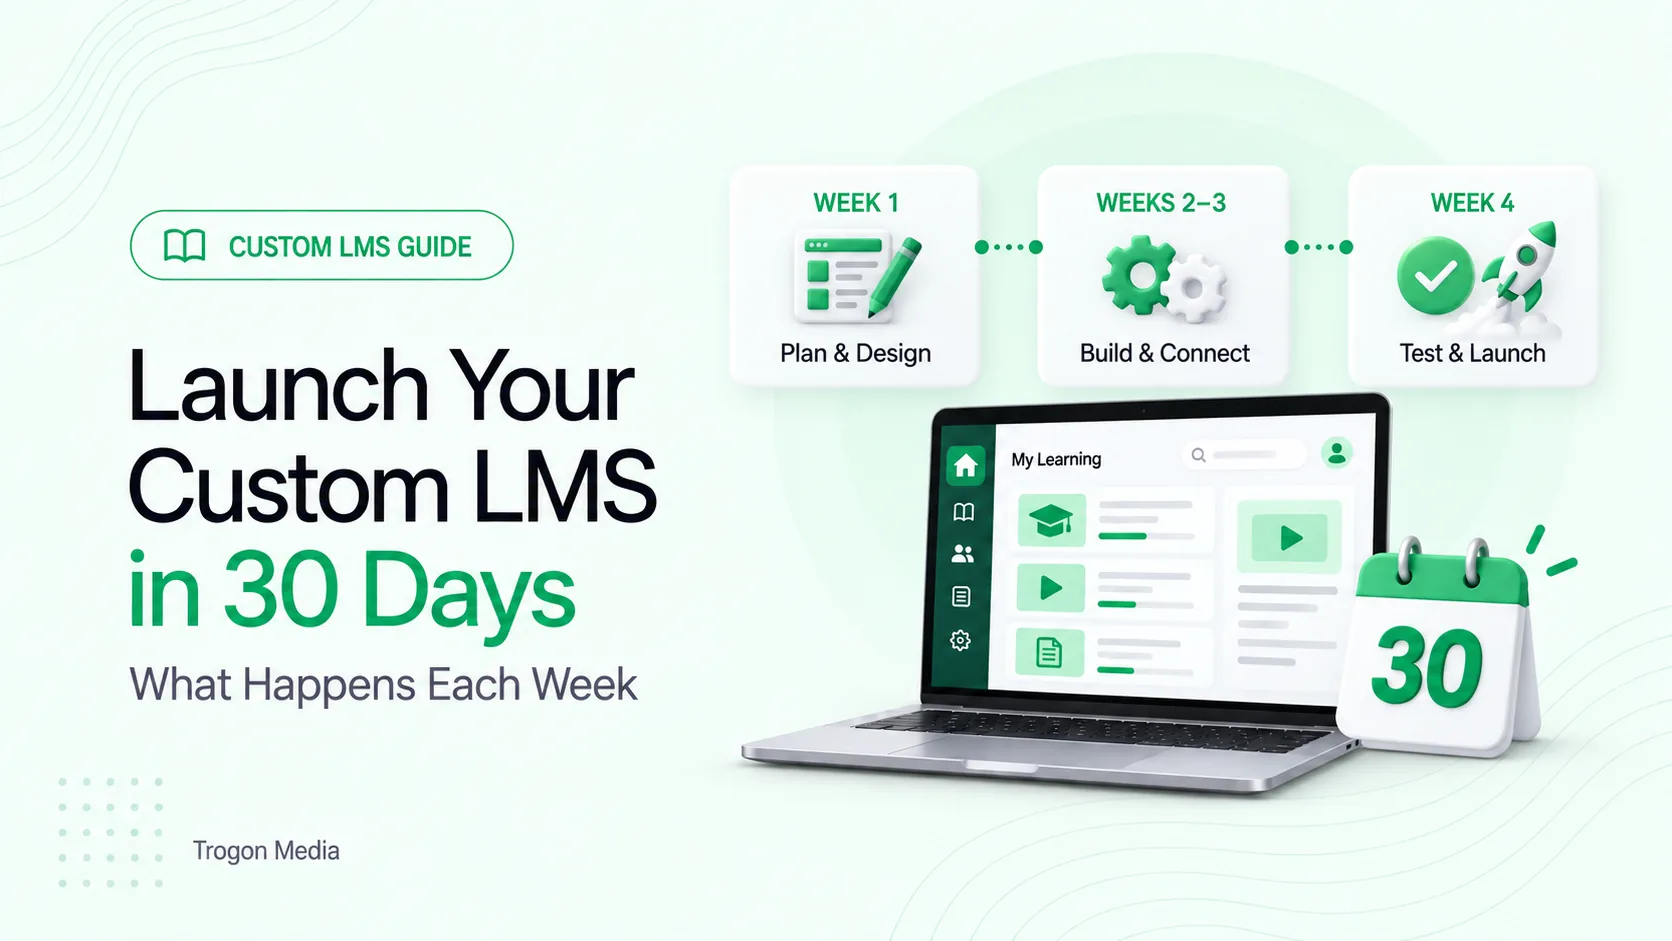
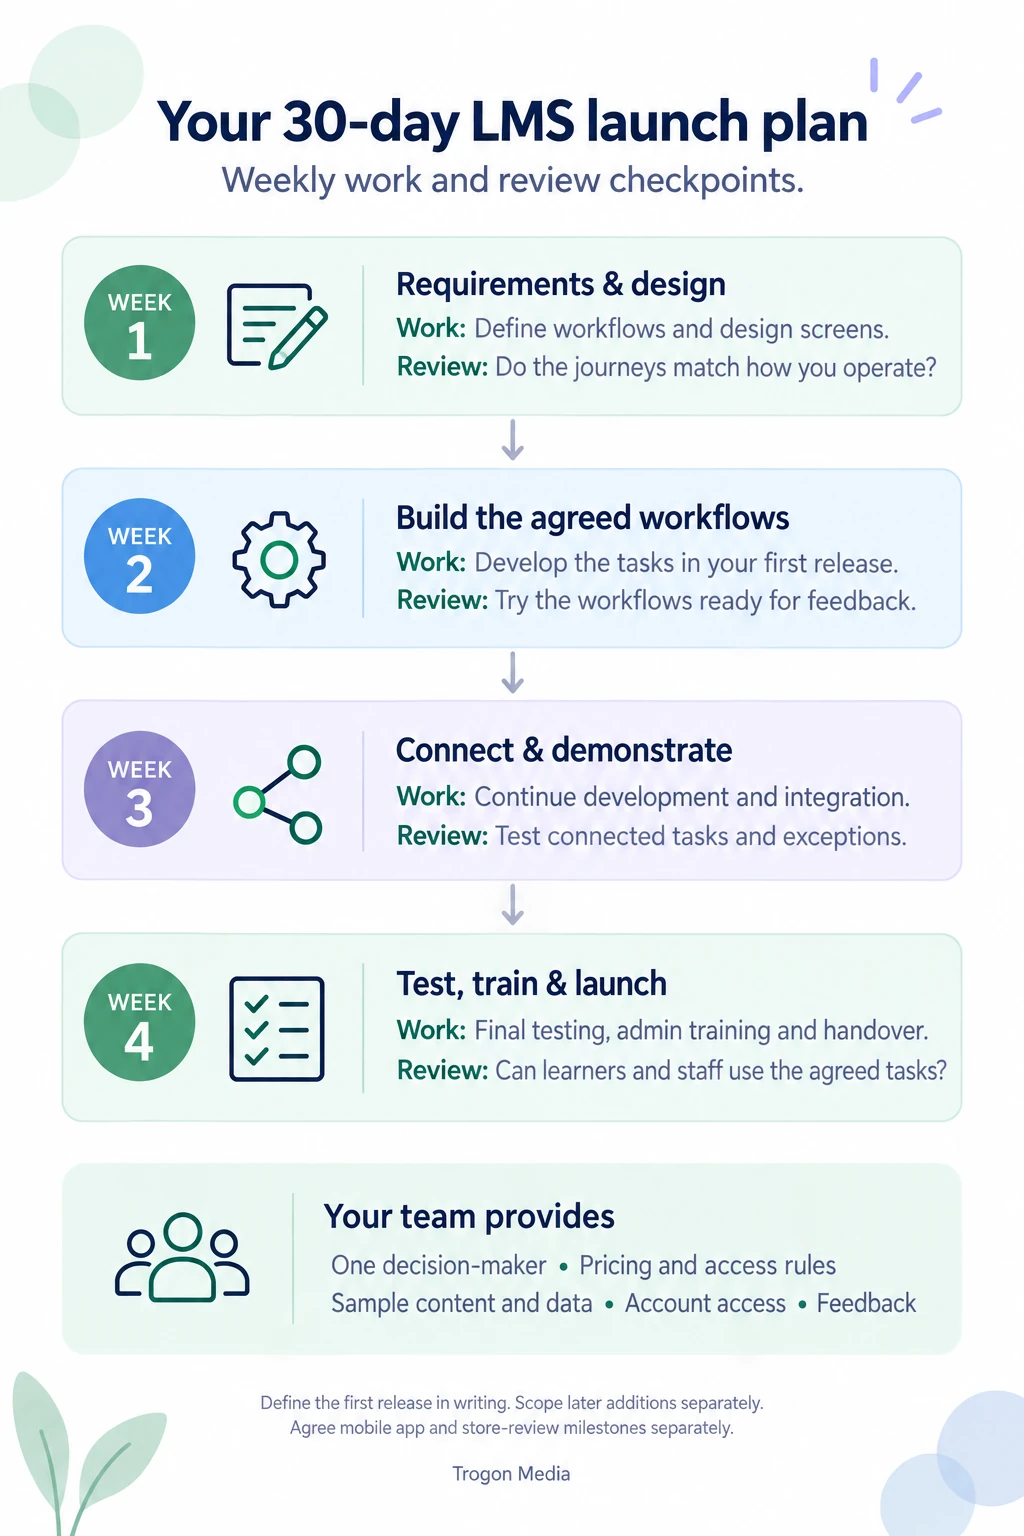
The 30-day delivery schedule described here starts with requirement analysis alongside you. Week 1 covers requirements and design, followed by development across weeks 2–3. Then comes launch preparation. Week 4 brings final testing and administrator training, with handover and learner access completing the agreed first release.
Later additions receive their own scope and timeline.
What the 30-day LMS development timeline includes
Your custom LMS development timeline includes requirement analysis with your team from the day that work begins.
Use the suggested checkpoints below during reviews. Ask for a project plan that names the specific deliverables, who reviews them, and when that review will happen.
| Stage | Main work | Suggested review checkpoint |
|---|---|---|
| Week 1 | Requirements and UI/UX design | Do the requirements and designs reflect how you teach, enrol students, and collect fees? |
| Week 2 | Development of agreed workflows | Can you review the workflows scheduled for this stage? |
| Week 3 | Continued development and integration | Can the connected workflows be demonstrated with representative content and users? |
| Week 4 | Final testing, training, and launch | Can learners use the agreed workflows, and can your staff operate the LMS? |
“First release” needs a written definition. For an illustrative coaching programme, it might include batch enrolment, recorded lessons, practice tests, and fee collection. Another institution may need a different combination.
Write down what belongs in that release and what comes later. Our custom LMS development cost guide explains how the initial scope and subsequent phases relate to the budget.
If you’re still deciding what the platform should do, start with the steps to launch a custom LMS. This timeline follows the delivery work once you begin the project.
Week 1: Agree on requirements and design the LMS
Bring the way your institution works into the first meeting.
Describe who joins a course, how they pay, when access begins, and what staff do behind the scenes. The requirement-analysis session needs those decisions alongside your feature requests.
Take course pricing. “We sell online courses” leaves several questions unanswered:
- Do students buy individual courses or a bundle?
- Does payment cover a fixed batch or a period of access?
- Can students pay in instalments?
- What happens to access when a payment is overdue?
- Can staff enrol a student who paid offline?
These answers shape both the interface and the rules behind it. For example, an instalment course needs a decision about access after the first payment. It also needs a rule for missed payments. For a closer look at missed payments and access decisions, read our guide to instalment payments and student access.
UI/UX design covers the screens and how people move through them. That design work sits alongside requirement analysis in the first week.
Walk through a task. Try enrolling a learner, finding a lesson, or checking a payment. Ask the person who handles admissions to review the enrolment flow; involve teaching staff in the course-management screens.
A useful week 1 checkpoint: you can explain the agreed learner and administrator journeys, and the designs support them.
Your feedback should describe what needs to happen. “Staff need to move a learner to another batch without creating a second account” gives the team a clear requirement to assess.
Week 2: Build the agreed learning and business workflows
Development takes the approved requirements into working software.
The order depends on your project. A course-selling business may need enrolment and payment rules developed together. An institution with invited learners may put more attention into batch allocation and staff permissions.
Ask to review the workflows scheduled for this stage. If course management is ready for review, for example, try adding a representative lesson and placing it in the right batch.
A working task gives you a useful basis for feedback.
This is also where the question behind the deadline deserves an answer: how can custom work fit into 30 days?
Trogon Media uses a dedicated team, eight years of LMS experience, and tested internal components that can be fully customised to client requirements. Experience analysing varied requirements helps the team work through how those requirements fit together.
Those components aren’t a plug-and-play LMS. They provide a starting point for development, while the agreed business rules and workflows guide the customisation.
A student account may be familiar software territory. The rules governing which batch that student joins, what they can access, and when that access changes still need to reflect your institution.
We consider that distinction worth explaining before a build begins. Reuse supports the delivery schedule; customisation makes the system fit your operation.
For your review: identify which agreed tasks work, what feedback you have, and what remains scheduled for the next stage.
Week 3: Connect the workflows and review progress
Development continues through week 3. Use this stage to review how the parts work together as they become available.
Consider an illustrative paid-course journey:
- Register a learner.
- Select the intended course.
- Complete a test payment.
- Check that the correct course becomes available.
- Open a lesson and submit an assessment.
- Check the learner’s record from the administrator account.
Adapt the sequence to your requirements. A school that enrols students through its office will have a different starting point.
Test the exceptions too. Ask what staff should see after a failed payment and how they should help a learner who already has an account. Check batch changes separately. Decide whether moving a student should preserve access to lessons from the previous batch.
For courses sold through Razorpay, the provider’s payment-testing documentation explains how developers can simulate successful and failed payments before launch. Your team can use those scenarios to check the LMS response as well as the payment result. Razorpay payment-testing documentation
Use representative course material during reviews. Include the formats and assessment types you’ve agreed to support, so feedback reflects your teaching.
For a migration, review a sample of existing student records and course assignments before approving the wider transfer. Our custom LMS migration guide covers the records and access rules to check.
Keep a shared review list. For each issue, record what happened, what should have happened, who will address it, and its current status. Distinguish a correction to the agreed workflow from a new feature request. The latter needs a scope decision.
Week 4: Complete testing, train administrators, and launch
In the final week, the work moves through final testing and staff preparation towards launch and handover.
Test complete tasks using the roles that will perform them. A staff account with permission to edit courses should behave differently from a learner account. Include the devices your students and administrators expect to use.
Accessibility belongs in that review. Check keyboard access, readable text, and clear form labels. The W3C’s introductory checks offer a starting point, though passing them doesn’t establish full accessibility. W3C accessibility checks
Administrator training should let staff practise their own work. Ask them to add a lesson, manage a learner’s access, and find the information needed to answer a support query. Adjust those exercises to the features in your release.
Let staff do the clicking.
A demonstration can explain a task, but hands-on practice gives you a chance to spot unanswered questions before learners arrive.
For Trogon Media, launch means learners can use the agreed workflows, administrators are trained, and handover is complete. Use that definition when reviewing readiness against the first-release scope.
Agree which unresolved issues would prevent launch. A learner who cannot access a paid course needs a fix before invitations go out. A request for a different dashboard layout may belong in a later discussion. Record the decision and its owner.
The handover discussion should establish:
- Who holds the required administrator access.
- Where staff can find operating instructions.
- Who handles learner questions and technical issues.
- Which additions belong to a later phase.
If mobile apps form part of your scope, record the agreed delivery milestone separately. Be precise about the finish line: handing over an app, submitting it for store review, and making it publicly available describe different outcomes.
Before inviting learners, confirm who will monitor access problems, course delivery, and support requests. Give that responsibility a name. Our LMS scalability guide explains how to plan for your busiest classes and exam sessions.
What your team needs to provide during the build
Your part in the custom LMS development timeline is specific. You supply the operating decisions and materials that let the team build around your institution.
Prepare these inputs for your agreed reviews.
| What to prepare | What it helps the team establish |
|---|---|
| One decision-maker | Who can resolve questions and approve feedback |
| Course pricing and selling models | Purchase, enrolment, instalment, and access rules |
| Representative content and student data | Formats, fields, and real teaching requirements |
| Required account access | Connections to the services included in the scope |
| Consolidated feedback | A clear record of requested changes at each checkpoint |
Flag late inputs early. Ask which work depends on them and agree with the delivery team on what can proceed while the missing information is prepared. The project plan should make that dependency visible.
Bring your course selling model, learner workflows, and required integrations to a requirements discussion with our LMS development team in Kerala. We’ll use them to define what your first release needs to do.
Plan your first release
Plan your LMS launch
Share your course selling model, learner workflows, required integrations and preferred launch date.
Connect on WhatsApp